Congratulations! You received a signed contract from a prospect. This is only the first step, now you need to make sure the client is set up in Aspire correctly. Not only is this important for cleanliness of your CRM software, but it also helps you ensure a great relationship with your new client from the start. Not sure where to start? Here are a couple of steps we suggest clients prioritize.
1. Save a copy of the signed agreement
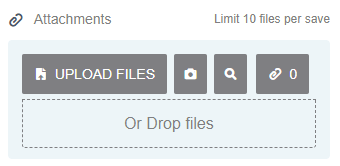
Once you have a fully signed contract (signed by client and company representative), you should upload a copy into Aspire. We suggest this is uploaded to the attachments at the opportunity. Not only does this eliminate paper copies being necessary, but it stores the document so it can easily be found if ever needed.
2. Change property status from Prospect to Customer
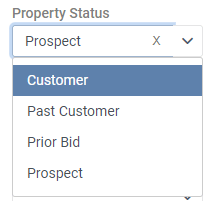
Making this change simply allows for more accurate reporting, especially when tracking a prospect pipeline, or pulling lists of customers. (Note: when cancellations are processes, we suggest changing the property status from Customer to Past Customer).
3. Set up Primary and Billing Contacts
Setting this up quickly allows for efficient billing from the get-go. We typically suggest the Sales rep gathers this information and creates/revises the contacts. By the time AP or the Office Manager is ready to bill, the contacts will be ready to go.

4. Set up Billing information
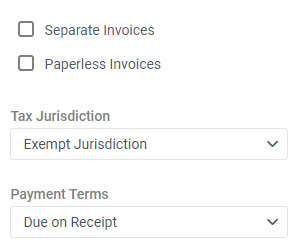
There are four items related to billing that we suggest setting up, similar to the task above, from the get-go. These include editing the property details by checking off Separate Invoice and Paperless Invoicing (if appropriate), assigning the correct Tax Jurisdiction and Payment Terms. Again, by the time AP or the Office Manager is ready to bill, the contract will be ready to go and invoices easy to process.
5. Set up Property Notes
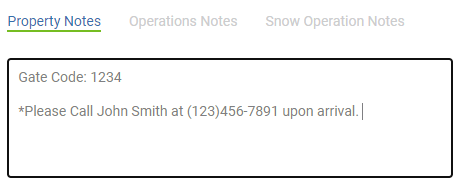
If there are any property specific notes that are applicable to anyone accessing the site, make sure to enter them into the Property Notes. A great example is gate codes, or if a client wants to be notified every time you are on-site. These notes will be visible to the frontline team on their mobile device. Click here to learn about additional note fields you should consider utilizing.
6. Upload Maps
If you have access to Irrigation Zoning maps the client has provided, you should upload these to the Property. If there is a site map, you should also upload it to the property. A great process we suggest client utilizing, is creating a color coded site map that identifies areas for specific services, (for example, 21” mowing lawns are highlighted in pink, and 36” mowing lawns are highlighted in blue, and beds to be weeded are highlighted in yellow).
If you have a color-coded site map, you should upload this to the Opportunity, as the highlighted descriptions are specific to this opportunity. If the scope of work ever changes, a new map should be uploaded to the new opportunity. Be sure to mark applicable maps as “Available to Crew”. This allows them to open the map from the mobile device if needed.
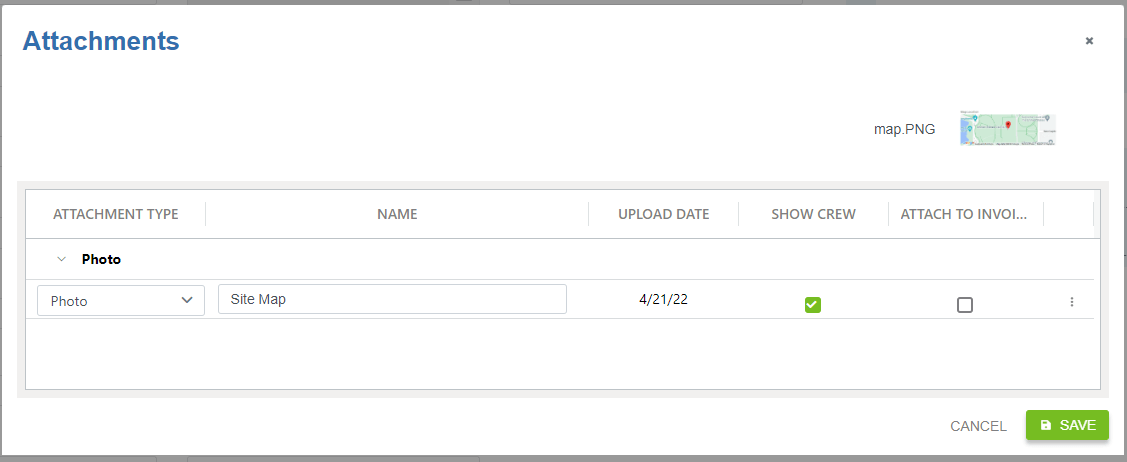
7. Schedule Work Tickets
As soon as the opportunity is won, you are able to start scheduling work tickets. Specifically Recurring tickets, such as Weekly Mowing, should be carefully analyzed before setting up the recurring schedule. (Note: we suggest utilizing an outside spreadsheet to “map” out your recurring maintenance before entering it into Aspire’s Schedule Board. In addition to Schedule Board Management SOP’s, we also have a template routing document available to our clients.)
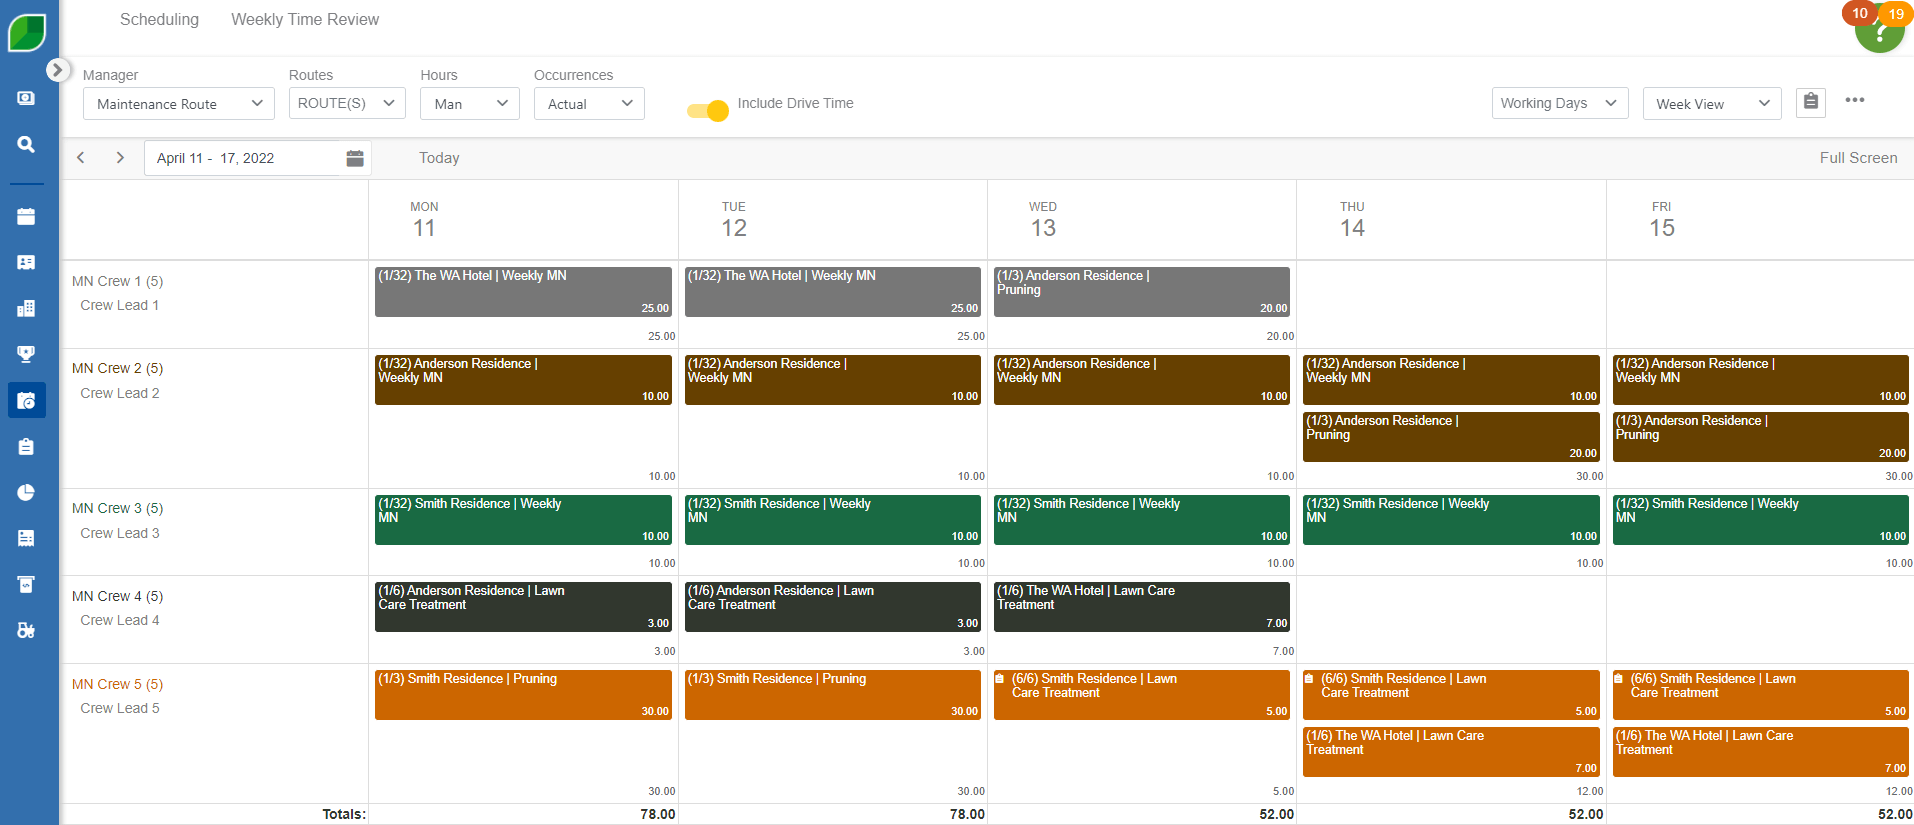
Now that you’re aware of all the important tasks that come with a new client, it is important to implement a process to ensure these get completed every time, and nothing falls through the cracks. We have created detailed checklists specific to this process, as well as others such as work orders, renewals, and cancellations. If you have questions on any of these tasks or are curious about our checklists, reach out today!
FREE DOWNLOAD:
Future-Proof Your Landscaping Business in 6 Easy Steps
Thrive Leads Shortcode could not be rendered, please check it in Thrive Leads Section!
